Growing up, my grandmother’s authentic Polish pierogi were the highlight of every family gathering. The tantalizing aroma of freshly cooked dumplings, the satisfying texture of the dough, and the comforting flavors of the fillings – these were the tastes of my childhood that I’ve longed to recreate in my own kitchen. If you’ve ever craved the nostalgic flavors of traditional Eastern European cuisine, then this recipe for homemade Polish pierogi is exactly what you need.
In this comprehensive guide, you’ll discover the secret to making authentic, melt-in-your-mouth pierogi right at home. From mastering the perfect dough consistency to crafting a variety of classic fillings, we’ll walk you through every step. This way, you can enjoy this beloved Polish comfort food anytime you desire. Get ready to impress your family and friends with your homemade pierogi skills!
Key Takeaways
- Learn to make authentic Polish pierogi dough from scratch
- Discover traditional pierogi fillings like potato and cheese (Ruskie), sauerkraut and mushroom, and sweet cheese and fruit variations
- Understand the best cooking methods and serving suggestions for perfect homemade pierogi
- Explore storage tips and make-ahead options to enjoy pierogi anytime
- Gain expert tips for achieving the most delicious and visually appealing pierogi
Introduction to Polish Pierogi: A Beloved Eastern European Comfort Food
In Eastern Europe, Polish food is famous for its comforting dishes. Pierogi are at the heart of this, loved by many. They are more than just food; they are a tradition passed down through generations.
History of Polish Pierogi
Pierogi have been around since the 13th century in Poland. They started as simple dishes with potatoes, cheese, and sauerkraut. But now, they come in many flavors, both sweet and savory.
Cultural Significance and Traditions
Pierogi are very important in Polish culture. They are a big part of family gatherings and national holidays. Making pierogi together is a special tradition, keeping the true spirit of Eastern European cuisine alive.
“Pierogi are more than just a dish – they are a testament to the enduring spirit and traditions of the Polish people.”
Today, making these comfort food treats is still a tradition. It keeps the rich history of Polish pierogi alive. It brings joy to both Poles and those who love pierogi.

Essential Ingredients for Authentic Polish Pierogi
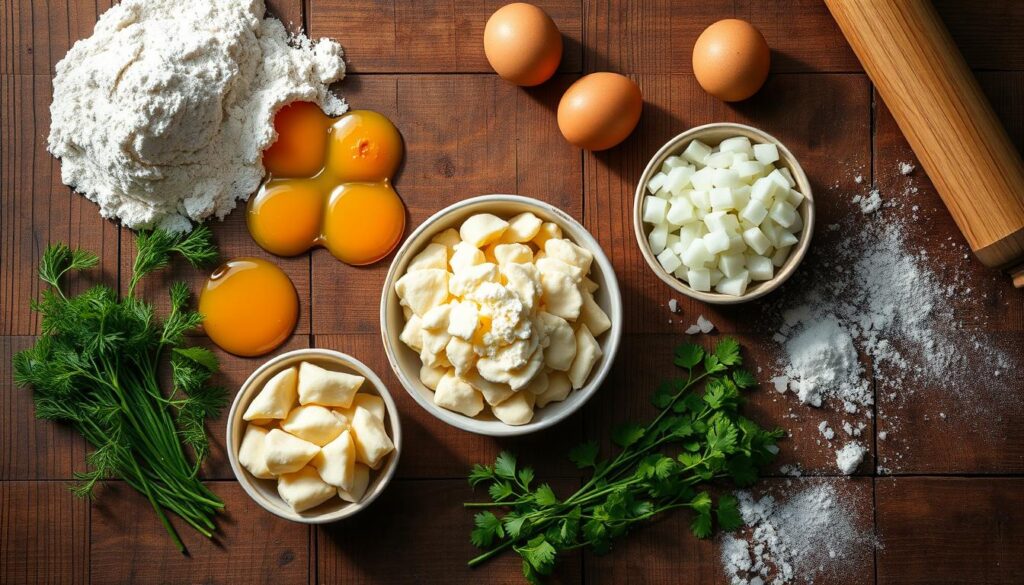
To make perfect Polish pierogi, you need traditional ingredients. The pierogi dough is key, made from a few simple parts. The fillings vary by region, with favorites like potato and cheese, sauerkraut and mushroom, or sweet cheese and fruit.
Here are the must-haves for authentic Polish pierogi:
- Flour: High-quality all-purpose flour is the base of the pierogi dough. It gives the dumplings their unique texture.
- Eggs: Eggs make the dough rich and help it stick together. This makes the dough easy to shape.
- Water: The right amount of water is key for the dough’s consistency. It should be thin but not too sticky or dry.
- Salt: A little salt boosts the flavor of both the dough and the fillings.
For the fillings, traditional Polish ingredients include:
- Potatoes: Mashed potatoes are a favorite, often mixed with cheese or onions for extra taste.
- Sauerkraut: The tangy, fermented cabbage adds a savory touch to the dough.
- Mushrooms: Sautéed mushrooms, especially with sauerkraut, bring a rich, earthy flavor.
- Cheese: Soft farmer’s cheese, like quark or farmer’s cheese, is a sweet filling choice.
- Fruit: Fruits like blueberries, cherries, or plums make sweet pierogi variations.
Using top-quality, traditional ingredients ensures your homemade Polish pierogi are full of authentic taste and texture.

How to Make Perfect Pierogi Dough from Scratch
Making the perfect pierogi dough from scratch is key to delicious homemade pierogi. Learning to make dough right ensures your pierogi are just right. This guide will show you how to make the best pierogi dough and help you get the right dough consistency.
Tips for Achieving the Right Dough Consistency
The secret to great pierogi dough is finding the perfect mix of softness and firmness. Here are some tips to help you get it just right:
- Choose high-quality, all-purpose flour for a tender, yet sturdy dough.
- Add the right amount of water slowly to make a smooth, non-sticky dough.
- Knead the dough well to make it chewy yet delicate.
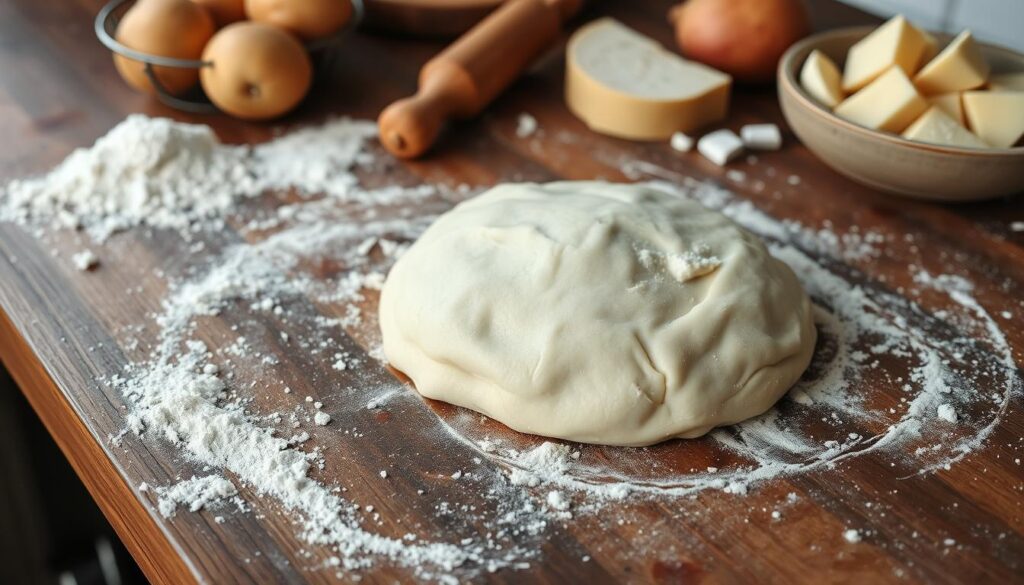
- Let the dough rest for at least 30 minutes before rolling. This relaxes the gluten and makes it easier to work with.
Common Dough-Making Mistakes to Avoid
While making pierogi dough is simple, there are a few mistakes to avoid:
- Don’t overwork the dough, or it will be tough and rubbery.
- Too much water makes the dough sticky and hard to handle.
- Not letting the dough rest makes it hard to roll and shape.
- Using the wrong flour, like bread or pastry flour, can mess up the dough’s structure.
Equipment Needed for Dough Preparation
Having the right tools makes preparing pierogi dough easier and more efficient:
- Large mixing bowl
- Wooden spoon or dough hook attachment for a stand mixer
- Rolling pin
- Cutting board or clean work surface
- Pastry cutter or sharp knife (for shaping the pierogi)

With the right tools, techniques, and care, you can make perfect pierogi dough from scratch. Enjoy the journey and the tasty homemade pierogi you’ll make.
Classic Pierogi Recipe: Step-by-Step Instructions
Making pierogi at home might seem hard, but it’s easy with this guide. You can make real Polish pierogi in your kitchen. Follow these steps to make the best pierogi recipe and taste Eastern European food.
Crafting the Pierogi Dough
The secret to great pierogi is the dough. Mix these ingredients in a big bowl:
- 2 cups all-purpose flour
- 1 teaspoon salt
- 1 egg
- 1/2 cup warm water
- 2 tablespoons sour cream
Knead the dough until it’s smooth and stretchy, about 5-7 minutes. Then, cover it and rest for 30 minutes before rolling it out.
Filling and Sealing the Pierogi
Roll the dough thin, about 1/8-inch. Use a cookie cutter or glass to make circles. Put some filling in the middle of each circle. Fold it into a half-moon and seal the edges with a fork.
Cooking the Pierogi
Boil a big pot of salted water. Carefully add the pierogi and cook for 5-7 minutes. They’ll float when they’re done. Use a slotted spoon to take them out and serve with toppings like sour cream or bacon.
With this pierogi recipe, you can make tasty homemade pierogi at home. Try different fillings and enjoy this Polish favorite anytime.
Traditional Pierogi Fillings and Variations
Pierogi, the beloved Eastern European dumplings, are known for their diverse and delectable fillings. From savory to sweet, the possibilities are endless. Let’s explore some of the traditional and popular pierogi fillings that have delighted taste buds for generations.
Potato and Cheese Filling (Ruskie)
The Ruskie, or potato and cheese filling, is a classic and beloved choice. It combines creamy mashed potatoes with tangy cheese. This creates a harmonious balance of flavors that perfectly complements the tender pierogi dough. The Ruskie filling is a true comfort food staple that showcases the simple yet delicious essence of traditional Polish pierogi.
Sauerkraut and Mushroom Filling
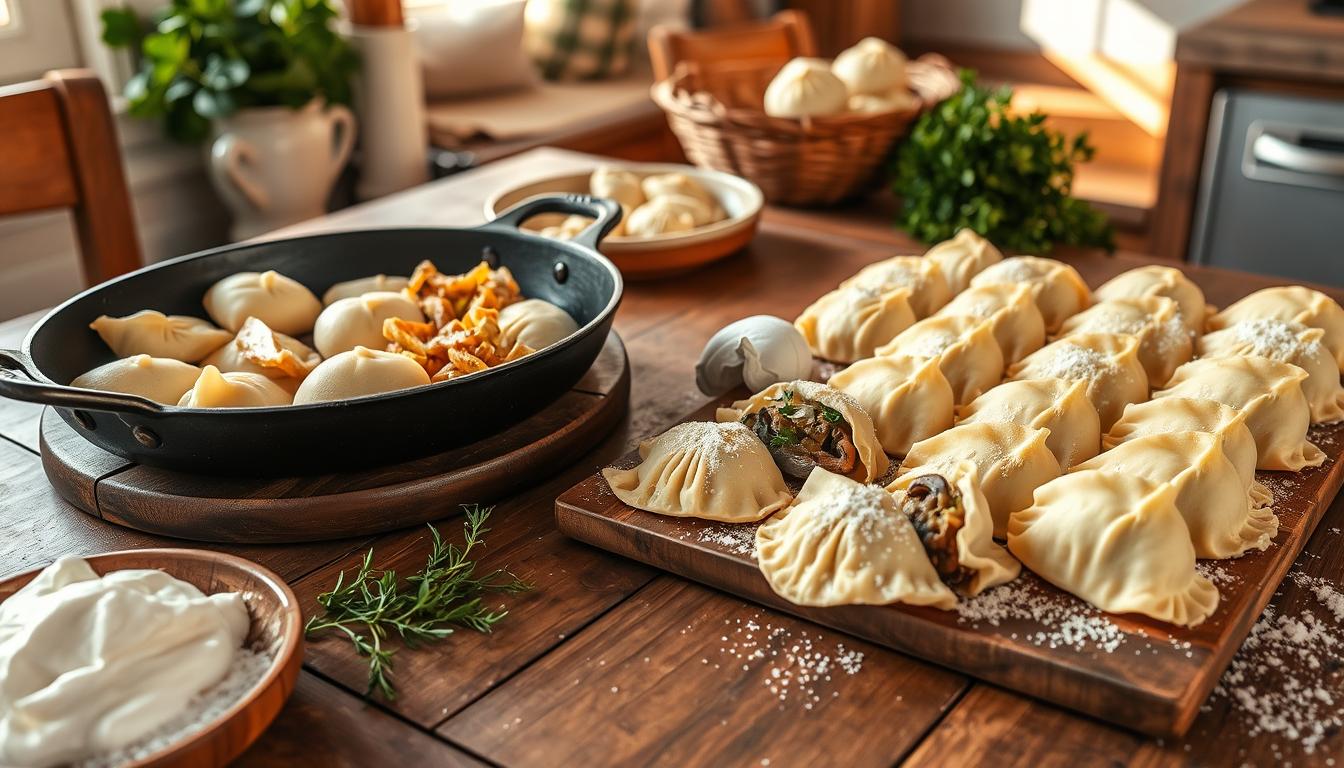
For those who crave a savory and hearty pierogi experience, the sauerkraut and mushroom filling is a must-try. The tangy, fermented cabbage pairs beautifully with the earthy, umami-rich mushrooms. This creates a filling that is both satisfying and bursting with flavor. This variation is a beloved choice for those seeking a more robust and substantial pierogi experience.
Sweet Cheese and Fruit Variations
While the savory fillings are undoubtedly delicious, the world of pierogi also offers sweet and indulgent options. One such variation features a creamy sweet cheese filling, often complemented by the addition of fresh or dried fruits. These sweet pierogi fillings provide a delightful contrast to the traditional savory offerings, catering to those with a sweet tooth.
Regardless of your preference, the array of traditional pierogi fillings ensures that there is a flavor to satisfy every palate. Whether you gravitate towards the comforting potato and cheese, the robust sauerkraut and mushroom, or the indulgent sweet cheese and fruit variations, the world of pierogi offers a culinary journey worth exploring.
Cooking Methods and Serving Suggestions
Learning to cook Polish dumplings, or pierogi, is key to enjoying these Eastern European treats. You can boil, pan-fry, or bake them. Each method highlights their unique flavors and textures.
Boiling Pierogi
Boiling is a traditional way to cook pierogi. Start by boiling a large pot of salted water. Then, add the pierogi gently. Cook for 5-7 minutes, until they float, showing they’re done.
Pan-Frying Pierogi
For a crispy outside, pan-fry your pierogi in a skillet. Use butter or oil. Cook for 2-3 minutes on each side, until golden and warm.
Baking Pierogi
Baking pierogi is easy and tasty. Place them on a baking sheet. Brush with melted butter or oil. Bake at 400°F for 15-20 minutes, flipping halfway, until browned.
Serving pierogi offers endless options. Try them with sour cream, caramelized onions, crispy bacon, or melted butter. For a full meal, add grilled kielbasa sausage, braised cabbage, or roasted veggies.
Whether boiled, pan-fried, or baked, pierogi are a comforting, authentic Eastern European dish. They’re sure to satisfy your cravings.
Storage Tips and Make-Ahead Options
Homemade Polish pierogi can last longer than you think. With the right storage, you can enjoy them for days. We’ll show you how to freeze and reheat them perfectly.
Freezing Instructions
Freezing pierogi is a great way to keep them handy. First, lay them out on a baking sheet, making sure they don’t touch. Once they’re frozen, put them in an airtight container or freezer bag. This keeps them from sticking together.
When you’re ready to eat them, just thaw the amount you want. Then, follow the reheating tips below.
Reheating Guidelines
- Frozen Pierogi: Boil salted water and add the frozen pierogi. Cook for 5-7 minutes until they float. Drain and serve with your favorite toppings.
- Refrigerated Pierogi: Heat a skillet with butter or oil over medium. Cook the pierogi for 3-5 minutes on each side, until they’re hot and lightly browned.
With these easy tips, you can enjoy Polish pierogi anytime. They’re perfect for any day, bringing authentic Eastern European flavors to your table.
Expert Tips for Perfect Homemade Pierogi
Making delicious homemade pierogi needs attention to detail and some expert tips. Whether you’re experienced or new to cooking, these tips will help you make perfect pierogi every time.
First, focus on the dough’s consistency. To get a soft wrapper, don’t overwork the dough. Just knead it gently. This keeps your pierogi soft and pliable.
- Chill the dough for at least 30 minutes before rolling it out. This makes it easier to handle.
- Roll the dough on a lightly floured surface to prevent sticking. Aim for a thickness of about 1/8 inch for the best results.
- When filling the pierogi, make sure the filling is thick and creamy. This prevents it from leaking during cooking.
To get a professional look, use a fluted ravioli cutter or a sharp knife to trim the edges. This makes the pierogi look great and seals in the fillings.
Pierogi can be cooked in many ways. Boil them for a classic taste, pan-fry for a crispy outside, or bake for something different. Try different methods to find what you like best.
“The secret to perfect homemade pierogi lies in the attention to detail. With a little practice and these expert tips, you’ll be crafting restaurant-worthy dumplings in no time.”
One of the best things about homemade pierogi is you can make them your own. Experiment with different fillings and toppings. Add your own twist to this beloved Polish dish.
Conclusion
Learning to make homemade Polish pierogi is a fun journey. You’ve learned about their history and cultural importance. You’ve also found out how to make the dough and tried different fillings.
If you love pierogi or are new to them, we hope you’re excited to try making them. This recipe lets you bring Poland’s flavors into your kitchen. Making pierogi is not just about food; it’s about connecting with tradition.
Now, it’s time to start cooking! Get your ingredients ready and fire up your stove. Making pierogi is an adventure that brings Eastern Europe to your table. Don’t be shy to try new fillings and ways to serve them. The fun and delicious results are waiting for you. Bon appétit!
FAQ
What are the essential ingredients for making authentic Polish pierogi?
To make traditional Polish pierogi, you need flour, eggs, and water or milk. You also need a filling, like mashed potatoes, sauerkraut, cheese, or fruit.
How do I make the perfect pierogi dough from scratch?
First, mix flour, eggs, and water or milk until smooth. Then, knead the dough for a few minutes. Let it rest before rolling it out and cutting into circles for filling.
What are some traditional pierogi fillings?
Classic fillings include mashed potatoes and cheese (Ruskie pierogi), sauerkraut and mushrooms, and sweet fillings like fruit or cheese curds.
How do I cook pierogi? Are there different methods?
You can cook pierogi by boiling, pan-frying, or baking. Boiling is traditional, where they simmer until they float. Pan-frying in butter or oil gives a crispy exterior.
Can I make pierogi in advance and freeze them?
Yes, you can make pierogi ahead and freeze them. Place uncooked, filled pierogi on a baking sheet and freeze until solid. Then, transfer them to a container or bag. Boil or pan-fry frozen pierogi directly from the freezer.
What are some tips for achieving perfect homemade pierogi?
For perfect pierogi, use fresh, high-quality ingredients. Knead the dough well and roll it evenly. Don’t overfill the pierogi. Also, cook them right, avoiding overcrowding the pot for the best taste and texture.

