I love chocolate, and I’ve tried many chocolate cakes. But nothing beats the Brooklyn-style Blackout Cake. It’s like a chocolate dream come true. Now, I’m excited to teach you how to make this amazing cake at home.
Key Takeaways
- Discover the history and origins of the famous Blackout Cake from Brooklyn
- Learn about the essential ingredients needed to create the perfect chocolate cake layers
- Understand the proper mixing techniques and baking instructions for moist, flavorful cakes
- Master the art of making a rich, creamy chocolate pudding filling
- Get tips on preparing the ideal chocolate frosting and assembling your Blackout Cake
- Uncover storage and serving guidelines to ensure your cake stays fresh and delicious
- Dive into the world of chocolate decadence with this classic Blackout Cake recipe
The History Behind Brooklyn’s Famous Blackout Cake
The classic American cakes and chocolate desserts we love today have interesting beginnings. The Blackout Cake is a prime example, hailing from Brooklyn, New York.
World War II was a tough time, and Ebinger’s Bakery in Brooklyn made the Blackout Cake. The city had to do “blackout” drills, turning off all lights. This was to prepare for air raids. The cake got its name from these dark drills and its deep chocolate flavor.
“The Blackout Cake was a symbol of resilience and community in the face of adversity. Its enduring popularity is a testament to the timeless appeal of classic American cakes and chocolate desserts.”
Over time, the Blackout Cake became a favorite at Ebinger’s Bakery. It won the hearts of many Brooklynites. Now, it’s a famous classic American cake that shows the creativity and strength of its makers.
If you’re from Brooklyn or just love chocolate desserts, you must try the Blackout Cake. Its history and taste are unforgettable. It reminds us of food’s ability to bring us together, even in hard times.
Essential Ingredients for Your Blackout Cake Recipe
Making the perfect blackout cake needs the right ingredients. You’ll need rich cocoa powder and velvety dark chocolate. Each part is key to a delicious dessert. Let’s look at what you need to bake a tasty blackout cake.
Choosing the Perfect Cocoa Powder
The cocoa powder you pick is crucial. Go for a premium, Dutch-processed cocoa. Brands like Valrhona, Ghirardelli, and Guittard are great. They give your cake a deep, chocolatey taste.
Best Dark Chocolate Selection
Choose dark chocolate with at least 70% cacao content. This ensures a strong chocolate flavor. Lindt, Trader Joe’s, and Ghirardelli are top choices.
Key Dairy Components
Dairy is important for the cake’s texture. Use full-fat sour cream or Greek yogurt for moisture. For the frosting, pick unsalted butter for a creamy texture.
| Ingredient | Recommended Brands |
|---|---|
| Cocoa Powder | Valrhona, Ghirardelli, Guittard |
| Dark Chocolate | Lindt, Trader Joe’s, Ghirardelli |
| Sour Cream/Greek Yogurt | Full-fat options from major dairy brands |
| Unsalted Butter | Land O’Lakes, Kerrygold, Organic Valley |
Choosing the right ingredients will help you make a rich, decadent blackout cake. It will impress everyone. Next, we’ll talk about the kitchen tools you’ll need to make this recipe.
Kitchen Tools and Equipment Needed
To bake the perfect cake recipes, you need the right tools. For a delicious baking recipes like the Blackout Cake, here’s what you’ll need:
- Large mixing bowls for combining the cake batter ingredients
- Electric hand mixer or stand mixer for efficiently whipping the batter
- Round cake pans, preferably 8-inch or 9-inch in size, for baking the cake layers
- Parchment paper to line the cake pans and ensure easy release of the baked cakes
- Offset spatula for smoothing the chocolate frosting on the cake layers
- Serrated knife or cake leveler for evenly slicing the cake layers
- Turntable or rotating cake stand to assist in the assembly and decoration process
If you’re missing something, don’t fret! You can find substitutes. For example, a sturdy whisk can replace a hand mixer. Or, a sharp knife can work instead of a cake leveler. The main thing is to have the right tools to make amazing cake recipes and baking recipes.
“Successful baking is all about having the right tools on hand. With the proper equipment, you can unleash your creativity and produce stunning cake recipes and baking recipes.”
Making the Perfect Chocolate Cake Layers
Making the perfect chocolate cake layers is an art. It needs precision and attention to detail. By following a few key steps, you can get moist, rich, and flavorful cake layers. These layers are the base of a decadent chocolate cake.
Proper Mixing Technique
Start by mixing the cake batter right. Use a stand mixer or hand mixer. Mix the dry ingredients like flour and cocoa powder with the wet ingredients like eggs, oil, and buttermilk.
Gently fold the mixture until just combined. Be careful not to overmix. Overmixing can make the cake dense and tough.
Baking Temperature and Timing
Preheat your oven to 350°F (175°C). This ensures even baking and a moist crumb. Pour the batter into prepared cake pans.
Bake for 20-25 minutes. Or until a toothpick inserted into the center comes out clean.
Cooling Process
After baking, let the chocolate cake layers cool completely. This step is crucial. It allows the layers to firm up and prevents crumbling or tearing.
Place the cake layers on a wire rack to cool. Make sure they are at room temperature before moving on.
By following these tips, you’ll have a solid foundation for your decadent chocolate cake masterpiece.
Creating Rich Chocolate Pudding Filling
Making the perfect chocolate pudding cake filling is key to a great Blackout Cake. This filling is the heart of the cake, combining moist chocolate cake and rich chocolate frosting. Follow these steps to make your pudding cake filling truly decadent.
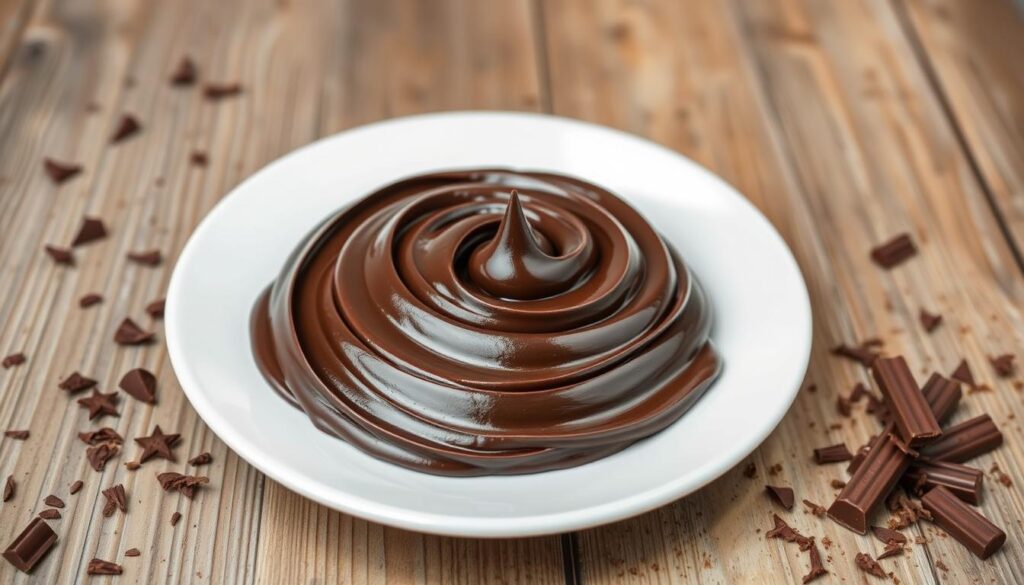
Start by mixing cocoa powder and cornstarch in a saucepan. Then, add milk, sugar, and a bit of salt, whisking until smooth. Heat it over medium, stirring constantly, until it thickens and boils gently.
After it thickens, take it off the heat. Add chopped dark chocolate and vanilla extract. This adds more chocolate flavor and a creamy texture. Let it cool a bit, then cover it with plastic wrap to stop a skin from forming.
Chill the pudding for at least 2 hours to get the right consistency. This step is crucial for a smooth filling that will delight your taste buds. When it’s time to put your Blackout Cake together, spread the pudding between the cake layers for a delicious filling.
“The secret to a truly exceptional chocolate pudding cake lies in the quality of the ingredients and the attention to detail during the preparation.”
Chocolate Frosting Preparation
Making the perfect chocolate frosting is key to rich dessert recipes like rich chocolate cakes. You need to focus on the ingredients and how you mix them.
Achieving the Right Consistency
For a smooth frosting, balance butter, powdered sugar, and cocoa powder. Start by whipping the butter until it’s fluffy. Then, add powdered sugar slowly, mixing well each time.
Slowly add cocoa powder, sifting it first to avoid lumps. If the frosting is too thick, add heavy cream or milk. If it’s too thin, add more powdered sugar.
Storage and Temperature Tips
- Keep frosted rich chocolate cakes in the fridge, as the frosting softens at room temperature.
- Let the cake sit at room temperature for 30 minutes before serving. This softens the frosting.
- Leftover frosting can be stored in an airtight container in the fridge for up to a week. Let it come to room temperature before using again.
Follow these tips to make a rich chocolate frosting that’s perfect for your dessert recipes.

Assembly and Decoration Guide
Making the perfect layer cakes, like the famous blackout cake recipe, needs skill and creativity. Follow these steps to put together and decorate your homemade cake with a stunning finish.
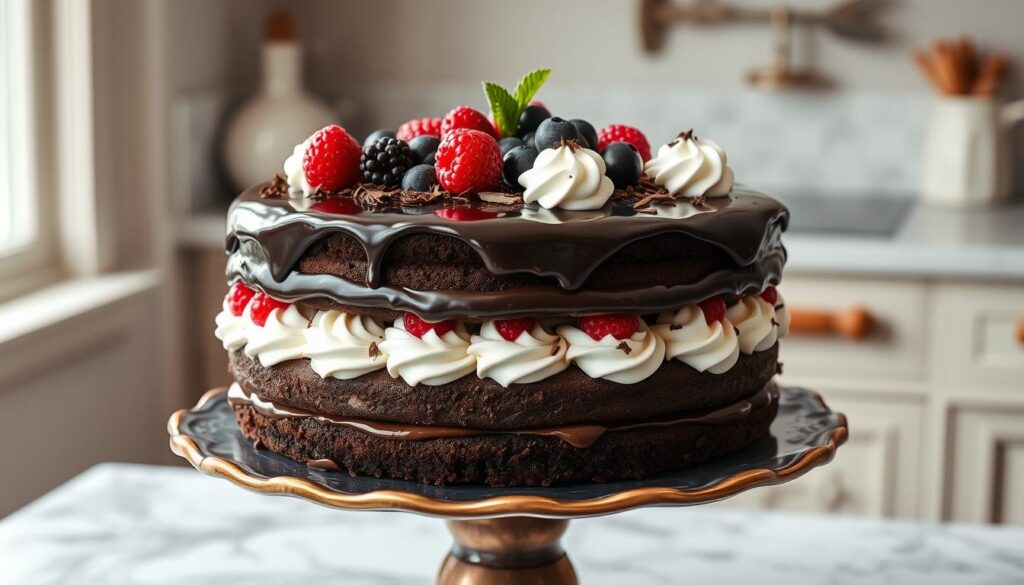
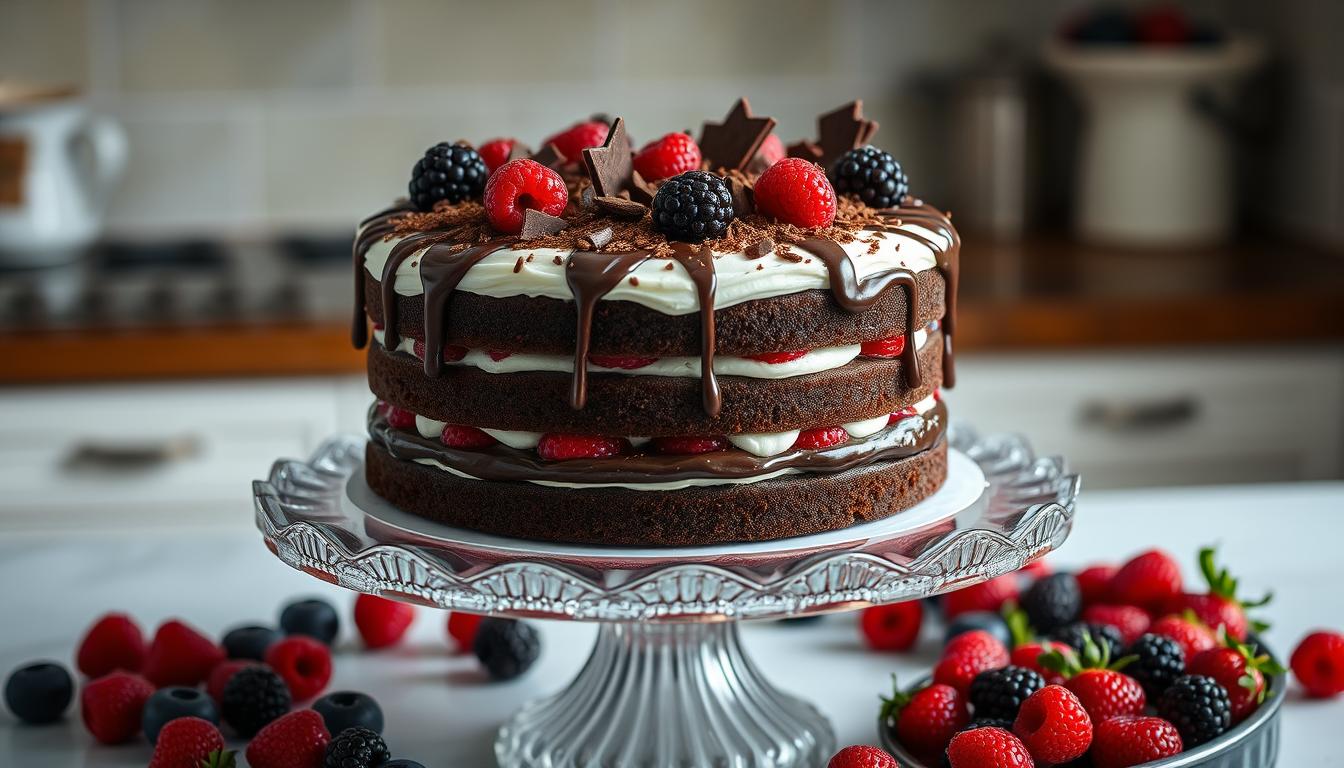
Start by leveling the cake layers for an even surface. Place the first layer on your serving platter or cake stand. Spread a layer of chocolate pudding filling over it, making sure to cover the edges. Then, stack the next cake layer on top, pressing gently.
- Keep adding layers and filling until you reach your desired height.
- After all layers are stacked, frost the outside with chocolate frosting. Chill the cake for 30 minutes to set the frosting.
- For the blackout cake recipe look, use an offset spatula to create a textured finish. Press and swirl the frosting for the right effect.
Finish with a dusting of cocoa powder or shaved dark chocolate. Serve chilled and enjoy the rich flavors of this iconic layer cakes creation.
“The key to an impressive blackout cake recipe is in the details. Pay close attention to each step, and you’ll be rewarded with a truly show-stopping dessert.”
Storage Tips and Shelf Life
Keeping your homemade cakes fresh and tasty is crucial. Whether you’re making a classic cake recipes or trying out rich dessert recipes, the right storage can help. It keeps your Blackout Cake moist and flavorful for longer.
Proper Refrigeration Methods
For the best taste, store your Blackout Cake in the fridge. Put it on a plate or cake stand without covering. This keeps the cake moist and stops it from drying out.
The fridge’s cool air slows down the cake’s drying. This way, your cake stays fresh and delicious for up to 5 days.
Freezing Instructions
Freezing is a great way to enjoy your Blackout Cake longer. Wrap the whole cake or slices in plastic wrap. Then, put them in an airtight container or freezer bag.
Freezing keeps your cake good for up to 3 months. To serve, thaw it in the fridge overnight. Then, let it come to room temperature before serving.
Serving Temperature Recommendations
Serving your Blackout Cake at room temperature is best. It lets the chocolate flavors and moist texture stand out. Just take the cake out of the fridge 30 minutes before you serve it.
With these tips, you can enjoy your homemade cake recipes and dessert recipes for days. Savor every bite of your delicious Blackout Cake!

Conclusion
The Blackout Cake, born in Brooklyn, is a rich part of American dessert history. You’ve learned its origins and how to make it in your kitchen. This guide has shown you the way to create this chocolate delight.
With this blackout cake recipe, you can make a dessert loved by many. It’s known for its deep flavors and moist texture. Whether you enjoy it yourself or share it with others, it’s sure to impress.
Now, you can add your own twist to the Blackout Cake. Try different cocoa powders or unique chocolate mixes. Get creative with decorations to show off your baking skills. The world of baking is yours to explore and enjoy.
FAQ
What is a Blackout Cake?
A Blackout Cake is a classic American dessert from Brooklyn, New York. It has rich, moist chocolate cake layers. These are filled with creamy chocolate pudding and topped with decadent chocolate frosting.
What makes the Blackout Cake so special?
Its deep, intense chocolate flavor makes the Blackout Cake special. The tender cake, silky pudding, and creamy frosting together offer a rich dessert experience.
How difficult is it to make a Blackout Cake?
Making a Blackout Cake is easier than it seems. It involves baking the cake, making the pudding filling, and assembling the cake. With some basic steps and patience, anyone can make a delicious Blackout Cake.
What ingredients are needed for a Blackout Cake?
You’ll need high-quality cocoa powder, dark chocolate, milk, eggs, sugar, and flour. Using the best ingredients is key for the perfect flavor and texture.
What kitchen tools and equipment are required to make a Blackout Cake?
You’ll need basic baking tools like mixing bowls, a stand mixer or hand mixer, and cake pans. A saucepan for the pudding and a serrated knife for leveling the cake are also necessary.
How do you assemble and decorate a Blackout Cake?
To assemble, layer the chocolate cake, pudding, and frosting. Start by leveling the cake layers. Spread the pudding and coat the cake in frosting. For a classic look, use a crumb coat or add chocolate shavings or cocoa powder.
How should a Blackout Cake be stored and served?
Store the Blackout Cake in the refrigerator to keep the pudding and frosting cold. It can be frozen for longer storage, but thaw in the fridge before serving. For the best taste, serve at room temperature.

